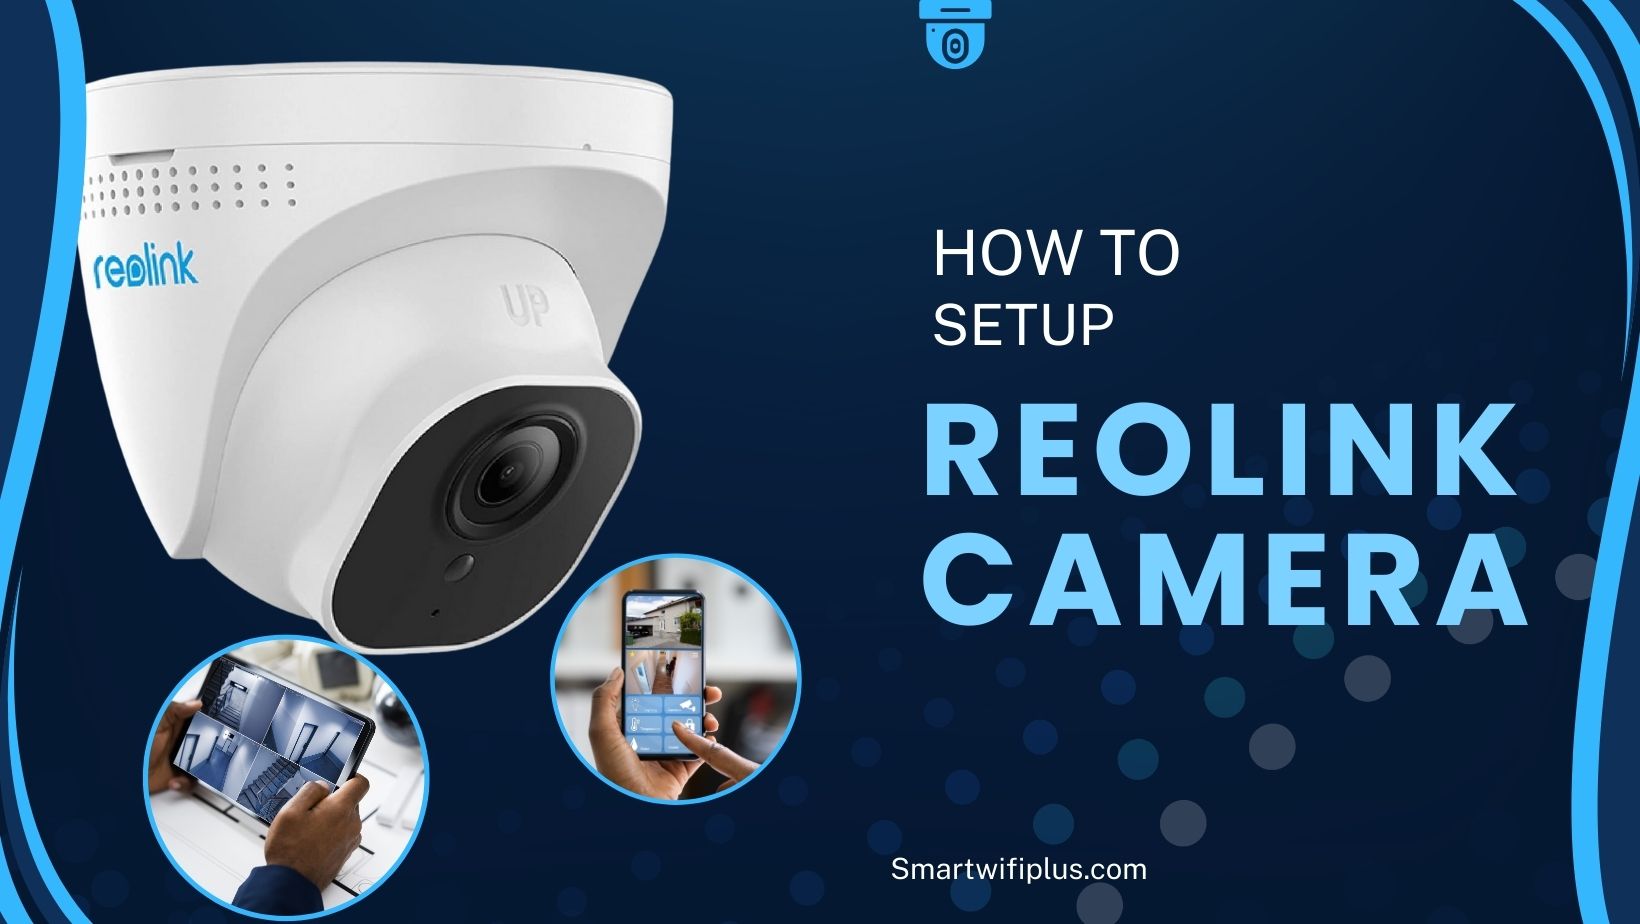
Are you excited to dive into the world of smart home security with your new Reolink camera? Setting it up may seem daunting at first, but fear not! We’ve got you covered with a straightforward guide that even your grandma could follow.
Unboxing Your Reolink Camera
Before we get started, make sure you have all the essentials from the box:
- Your Reolink camera
- Power adapter
- Ethernet cable
- Antenna (if applicable)
- Mounting screws and anchors
- Quick start guide
Choose the Perfect Spot
Finding the right location for your camera is crucial. Consider these tips:
- Place it near your main entrance for optimal security coverage.
- Ensure it’s within reach of a power outlet.
- Check for a stable Wi-Fi signal in the chosen spot.
How to Set Up Your Reolink Camera: A Step-by-Step Guide
Are you excited to dive into the world of smart home security with your new Reolink camera? Setting it up may seem daunting at first, but fear not! We’ve got you covered with a straightforward guide that even your grandma could follow.
Unboxing Your Reolink Camera
Before we get started, make sure you have all the essentials from the box:
- Your Reolink camera
- Power adapter
- Ethernet cable
- Antenna (if applicable)
- Mounting screws and anchors
- Quick start guide
Choose the Perfect Spot
Finding the right location for your camera is crucial. Consider these tips:
- Place it near your main entrance for optimal security coverage.
- Ensure it’s within reach of a power outlet.
- Check for a stable Wi-Fi signal in the chosen spot.
Power Up Your Camera
Time to get your Reolink camera up and running:
- Plug the power adapter into an outlet and connect it to the camera’s power port.
- Wait for the camera to power on. You should see indicator lights flashing.
- Be patient while the camera boots up—it may take a few minutes.

Connect to Wi-Fi
Now, let’s get your camera connected to your home network:
- Open the Reolink app on your smartphone.
- Tap on “Add New Device” and select your camera model.
- Follow the on-screen instructions to connect to your Wi-Fi network.
- Use the provided QR code or enter the camera’s serial number when prompted.
Position and Focus
Achieving the perfect view is essential for your camera’s effectiveness:
- Adjust the camera’s angle and focus to your liking using the mobile app.
- Ensure it covers the desired area and is not obstructed by objects or glare.
Set Up Motion Detection
To catch any suspicious activity, configure motion detection:
- Access the camera settings through the app.
- Find the “Motion Detection” option and enable it.
- Customize sensitivity and detection zones as needed.
Cloud or SD Card Storage
Decide where you want to store your footage:
- Cloud Storage: Subscribe to Reolink Cloud for convenient cloud storage.
- SD Card: Insert a compatible microSD card into the camera for local storage.
Common Errors and Troubleshooting
Mistakes happen, but we’re here to help:
- No Wi-Fi Connection: Check your Wi-Fi credentials and signal strength.
- Camera Offline: Ensure the camera is powered and within Wi-Fi range.
- App Issues: Try restarting the app or reinstalling it if needed.
- Can’t View Footage: Check storage settings and available storage space.
Also Check- Wyze Cam Pan Setup
FAQs
Double-check your Wi-Fi credentials, ensure the camera is within range, and try resetting your router.
Yes, the Reolink app allows remote viewing from anywhere with an internet connection.
No, Reolink cameras are designed for easy DIY installation.
Consider Wi-Fi extenders or repeaters to improve coverage in remote areas.
Most Reolink cameras are weatherproof, but check the specific model’s rating for details.
Congratulations! You’ve successfully set up your Reolink camera and taken a significant step towards securing your home. Now, sit back, relax, and enjoy the peace of mind that comes with a smart security solution.
Share this content:
